 In the last few weeks I have managed time to cross off some of my “projects” from the DIY list.
 Our first DIY project and most noteworthy creation? Eco-friendly and family safe cleaner! We made from a few simple ingredients, vinegar and orange peels, vanilla bean and cinnamon sticks. Since it takes about a month to “ferment” we made a large enough batch to have around for a little while. (ie 5 bags of oranges worth of peels, 10 cinnamon sticks and 5 vanilla beans) The first batch is still out for review from the ladies at work, and we have just wrapped up making our second batch. The second batch we ended up doubling, since you can use the orange peels for two batches before throwing them away. Now that its all strained (we just used diaper cloth that wasn’t pre folded), we put it into canning jars to store it and some in a squirt bottle in the kitchen.
our second DIY project was yogurt. The between the boys and Scott its hard to keep it in the fridge:0 Plus we get the organic, so the price adds up! Anyhow, after a quick recipe check we found that all it took a gallon of milk, 1/2c of yogurt and a few kitchen items, a thermometer, pot, strainer and bowl. After boiling the milk (any kind you want) and letting the temperature come back down to 100*F, then mix in your room temperature 1/2c of plain yogurt. Leave over night(approx. 8 hours) in the oven with the oven light on. In the morning, line the strainer with diaper cloth(this stuff is handy) and place the strainer over a bowl to catch the whey that will drain out. Depending on the thickness of yogurt you want leave it drain for more(thicker) or less time(runnier). We added fresh fruit and organic oats to round this out as a snack for the boys, we were also able to freeze them into yogurt drops…and yes they work wonders for our endless-teething-phase.
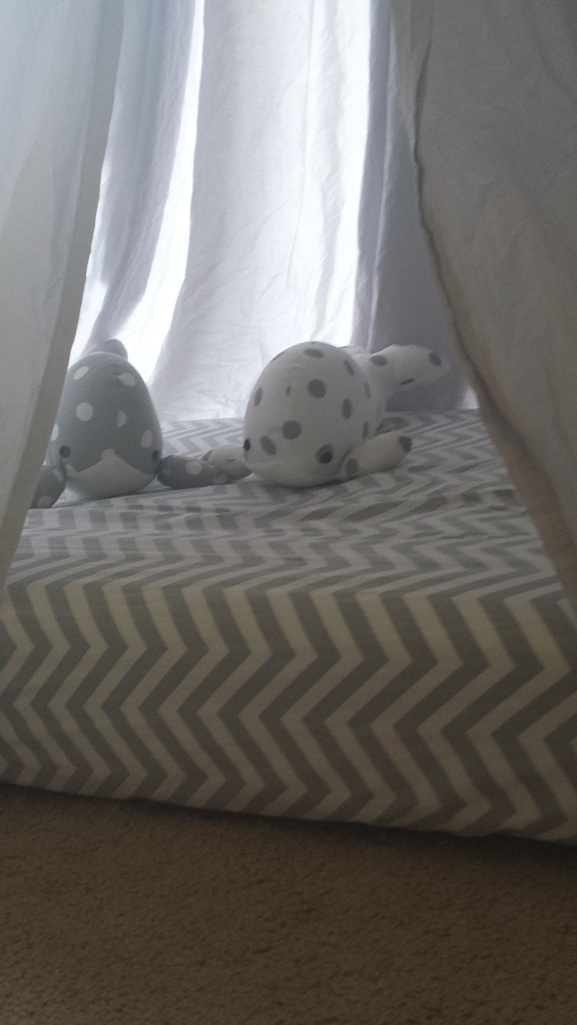
our third DIY project was a fort made out of an old sheet for the boys! It was a queen size sheet and I cut it into 4 sections, sewing them all together to make one very long piece that is 4 feet wide. I then gathered the fabric to attach it to the “roof” of the fort which we attached with Velcro since the boys like to pull things down to their level. The “roof” has a serving tray from target in it and is connected with left over sheet cut into strips. Hanging it up from the ceiling we made a little rainy day hideaway with plushies and a mattress:)
strong>our fourth DIY project was cloth diaper cleaning or “stripping.” It basically just means washing/rinsing out all of the build-up and grime. We already cloth diaper with our and have since the twins were 5 months, they’re now 15 months…so its time. (yes I’ll do a segment later on our choice to Cloth Diaper)
our fifth DIY project was to make our own deodorant! Way cheaper and it uses Coconut oil! I made a small batch from 5TBS of coconut oil, 1/4c corn starch and 1/4c baking soda (plus a few drops of whatever essential oils you like). Plus while its still warm you can pour it into your old deodorant container to re-use it! Plus, it really works:)  <
<
Scott and I are really happy to be finding healthier and cheaper ways to live. Stay tuned as we try more DIY like, home made bug repellant, sensory play with the boys, a few new food recipes!


